原理
在之前笔记中有详细写过越狱机插件开发和执行原理,我们知道插件是依赖 Cydia Substrate 基板运行的。
所以只需要将 Cydia Substrate 基板和 deb 插件内的 dylib 动态库打包进 APP 并加载,然后重签名即可运行在非越狱机上。
我们可以借助 MonkeyDev 工具来完成这份不算太繁琐的工作。
创建MonkeyApp
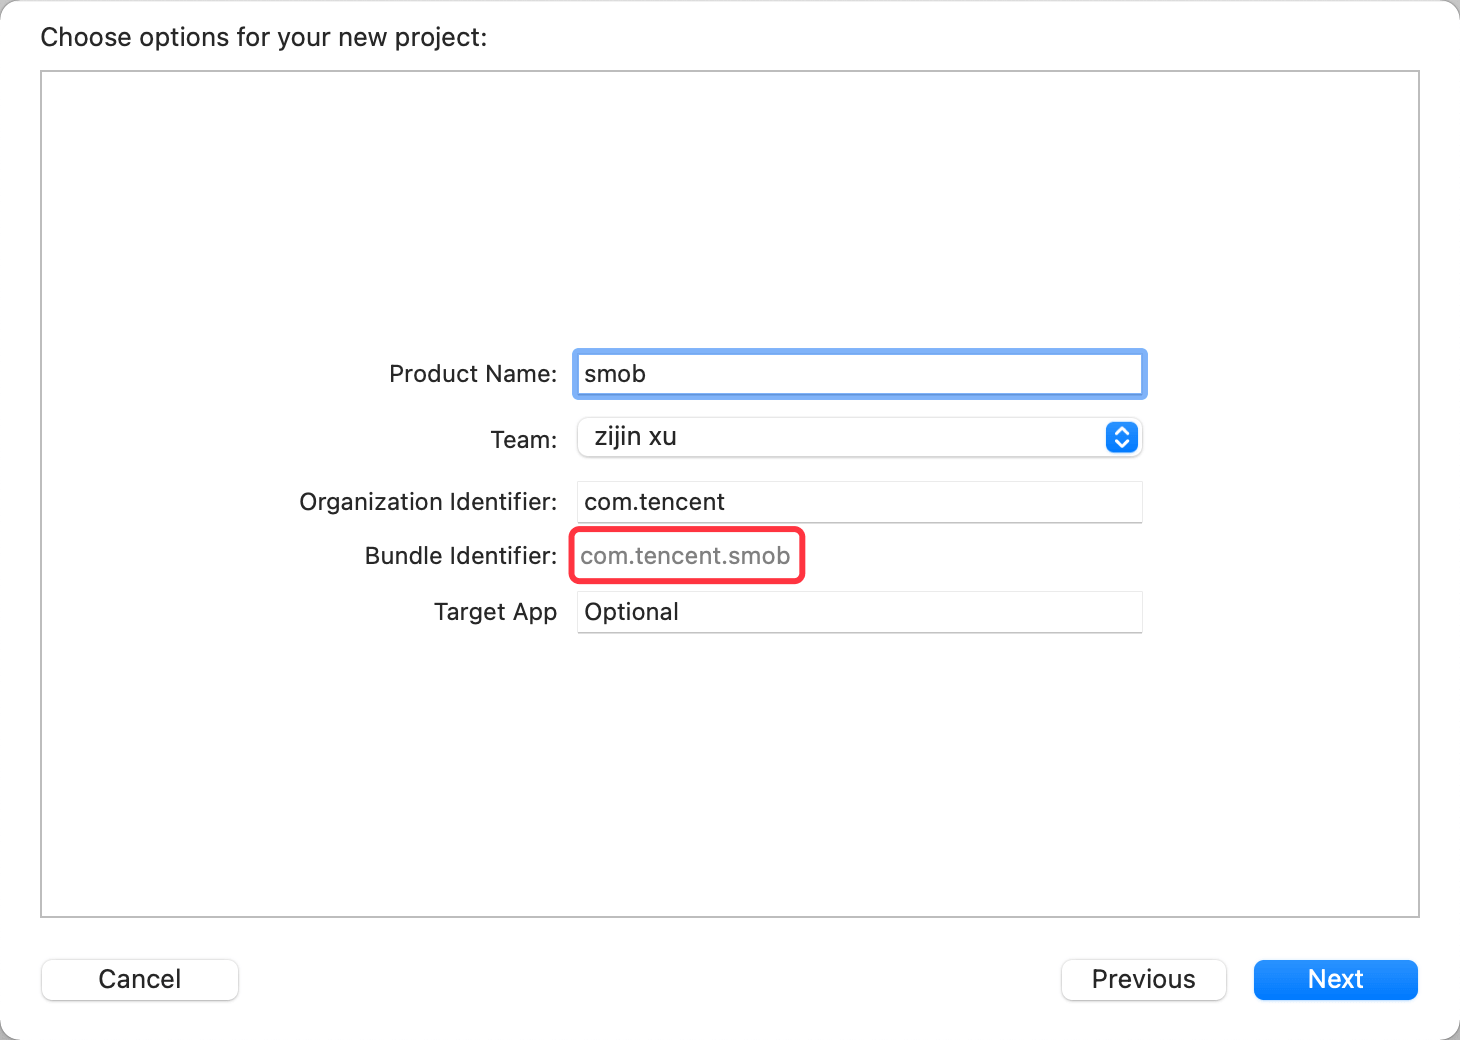
创建一个 MonkeyApp 工程,Bundle Identifier 最好和原 APP 保持一致,然后将 APP 的安装包放到 TargetApp 目录下。
添加插件动态库
将 deb 插件解压拿到 dylib 动态库文件,在 Build Phases - Copy Files 里添加我们需要的动态库文件。
Destination 保持默认 Frameworks,这样编译项目的时候就会将我们添加的文件拷贝到 Bundle 下的 Frameworks 目录中。

加载插件动态库
监听 UIApplicationDidFinishLaunchingNotification 通知事件,手动加载插件的动态库。
SmobDylib/SmobDylib.m文件:
#import "SmobDylib.h"
#import <CaptainHook/CaptainHook.h>
#import <dlfcn.h>

CHConstructor {
    printf(INSERT_SUCCESS_WELCOME);

    [[NSNotificationCenter defaultCenter] addObserverForName:UIApplicationDidFinishLaunchingNotification object:nil queue:[NSOperationQueue mainQueue] usingBlock:^(NSNotification * _Nonnull note) {

        NSString *bundlePath = [[NSBundle mainBundle] bundlePath];
        NSString *frameworksPath = [bundlePath stringByAppendingPathComponent:@"Frameworks"];
        const char *cDylibPath = [[frameworksPath stringByAppendingPathComponent:@"C.dylib"] UTF8String];
        const char *rDylibPath = [[frameworksPath stringByAppendingPathComponent:@"R.dylib"] UTF8String];

        dlopen(cDylibPath, RTLD_LAZY);
        dlopen(rDylibPath, RTLD_LAZY);
    }];
}
打包
将构建配置改为 Release,然后直接 Command + B 编译工程,生成 .app 文件。

编译后在项目根目录下的 LatestBuild 目录,可以找到编译后的文件。
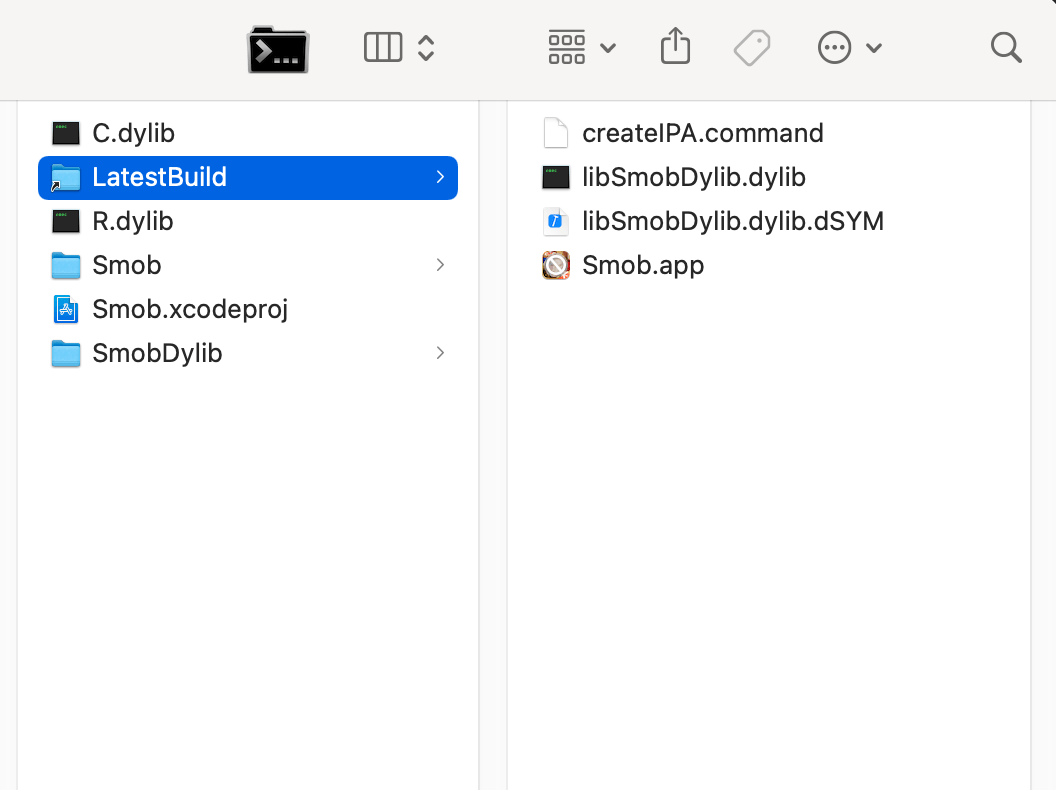
在终端执行 createIPA.command 脚本,即可生成 ipa 安装包。

使用任意重签名方式,重签安装包即可安装到非越狱机。