准备数据
YOLO(You Only Look Once) 是一种基于深度神经网络的对象识别和定位算法,其最大的特点是运行速度很快,可以用于实时系统。
YOLO 的数据包括训练数据和验证数据,训练数据用来训练模型,验证数据用来调整模型。
无论是训练数据还是验证数据,都包括一一对应的图片和标签。图片就是用于训练或验证的图片,标签是对图片内需要检测的目标的标注。
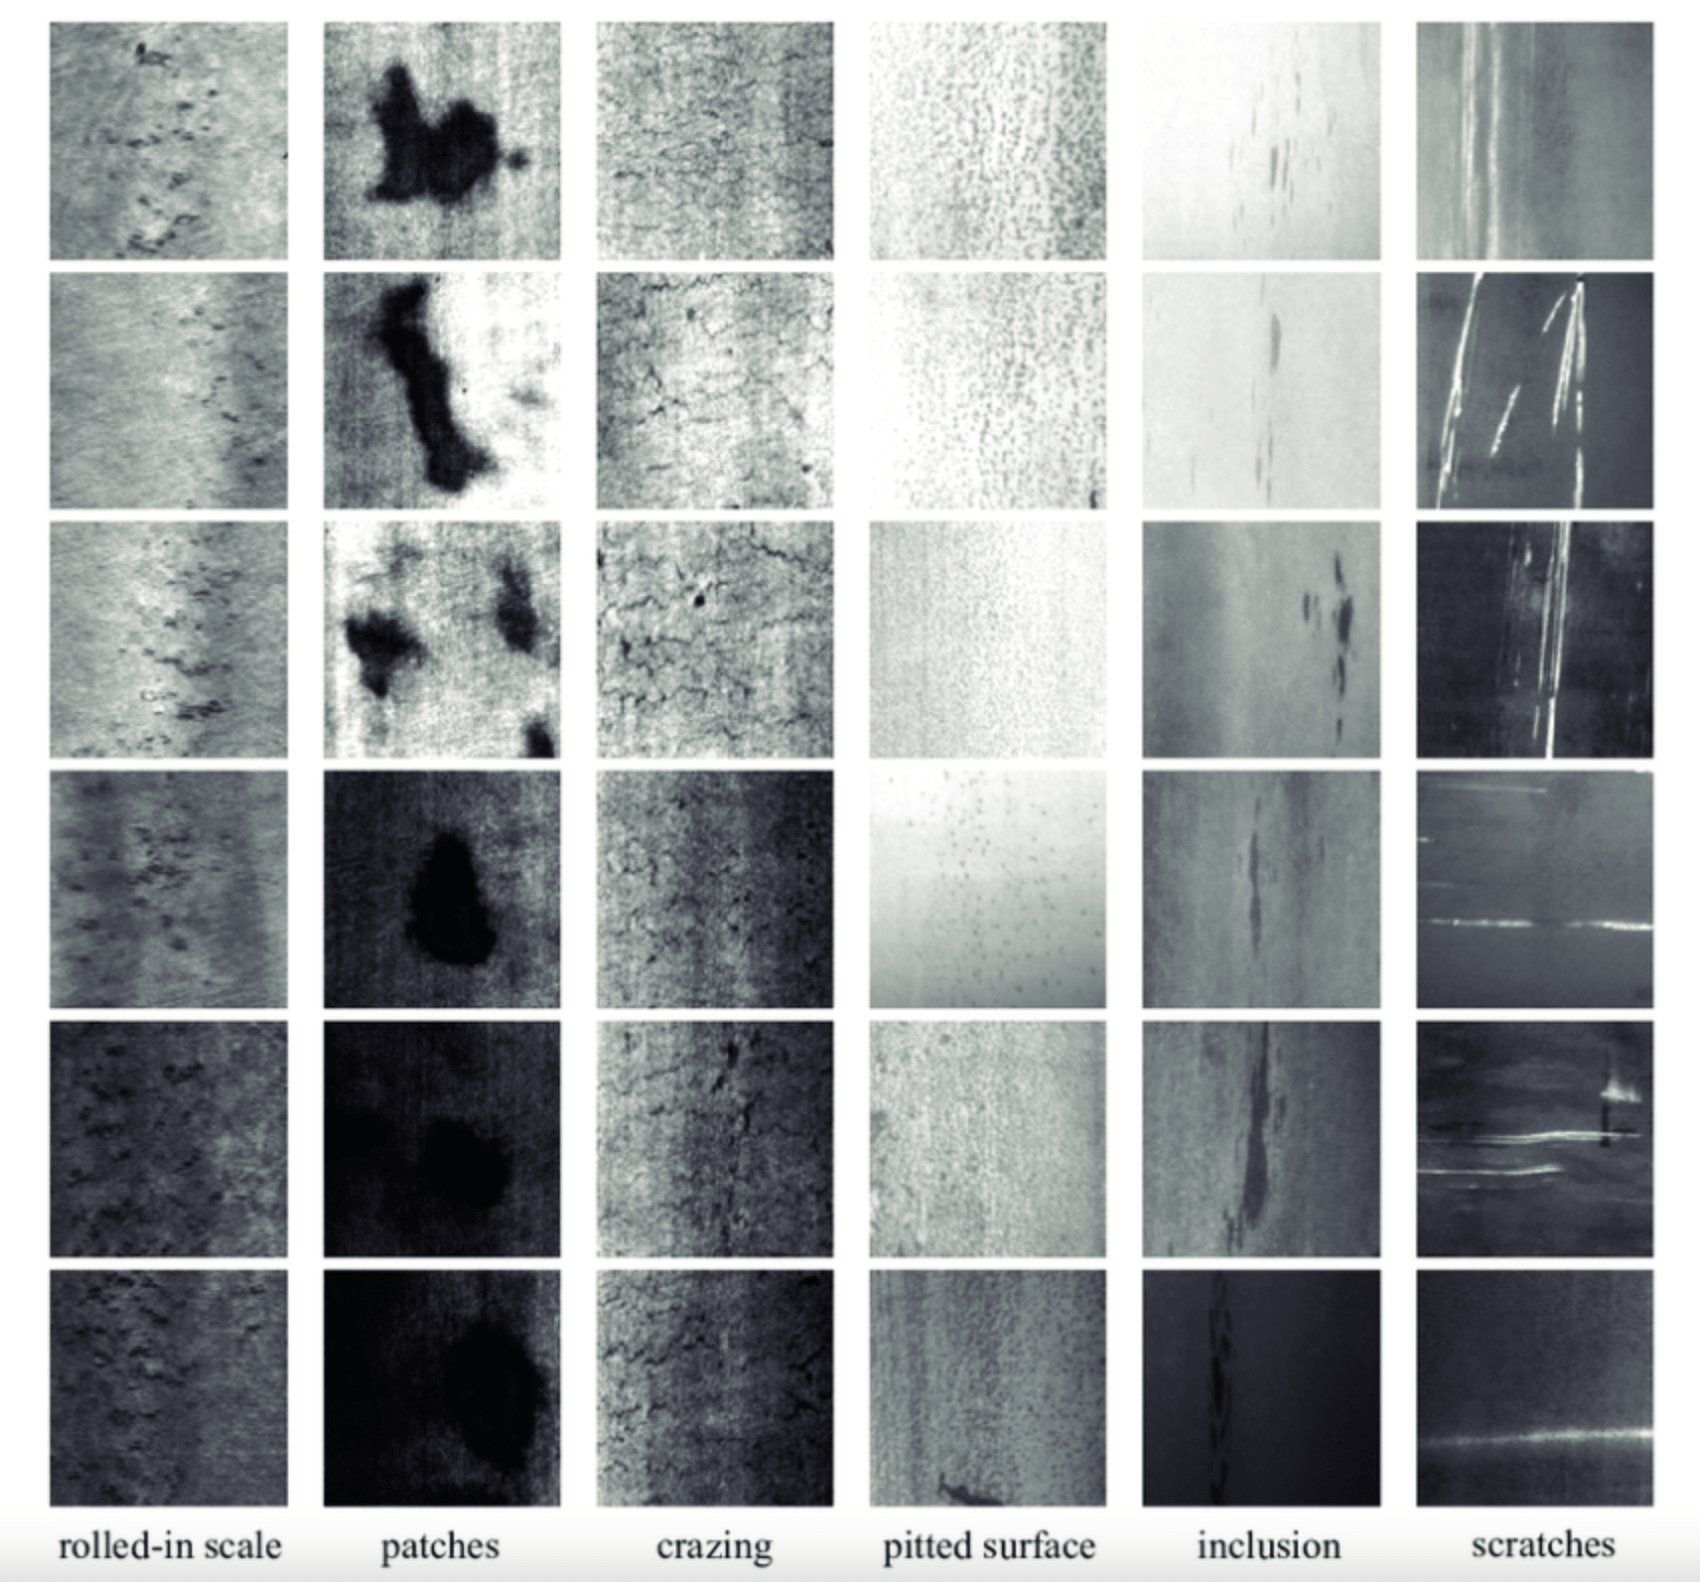
我们第一次训练可以使用 GitHub 开源的数据集来训练,这里我将使用钢材表面缺陷检测数据集:
下载地址:http://faculty.neu.edu.cn/yunhyan/NEU_surface_defect_database.html。
通过 Google-Drive 或百度云盘下载 NEU-DET,下载后得到下面两个文件夹:
IMAGES:存放所有的图片数据。
ANNOTATIONS:存放每张图片对应的标注数据。
处理数据
YOLO 是无法直接使用这些标注的,我们需要自己写一个脚本来转换为 YOLO 可使用的标注。
先新建一个目录用来存放训练数据的图片和标注,train 目录名可以随意,但下面的 images 和 labels 名字固定,否则需要改动 YOLO 源码。
在 IMAGES 和 ANNOTATIONS 同级目录下新建一个 Python 脚本:
import xml.etree.ElementTree as ET
import glob

classes = ['crazing', 'inclusion', 'patches', 'pitted_surface', 'rolled-in_scale', 'scratches']

def convert(size, box):
    dw = 1.0 / size[0]
    dh = 1.0 / size[1]
    x = (box[0] + box[1]) / 2.0
    y = (box[2] + box[3]) / 2.0
    w = box[1] - box[0]
    h = box[3] - box[2]
    x = x * dw
    w = w * dw
    y = y * dh
    h = h * dh
    return x, y, w, h

def convert_annotation(image_name):
    in_file = open('./ANNOTATIONS/' + image_name[:-3] + 'xml')
    out_file = open('./train/labels/' + image_name[:-3] + 'txt', 'w')
    tree = ET.parse(in_file)
    root = tree.getroot()
    size = root.find('size')
    w = int(size.find('width').text)
    h = int(size.find('height').text)

    for obj in root.iter('object'):
        cls = obj.find('name').text
        if cls not in classes:
            print('不存在:', cls)
            continue
        cls_id = classes.index(cls)
        xmlbox = obj.find('bndbox')
        box = (float(xmlbox.find('xmin').text), float(xmlbox.find('xmax').text), float(xmlbox.find('ymin').text),
               float(xmlbox.find('ymax').text))
        box_result = convert((w, h), box)
        out_file.write(str(cls_id) + ' ' + ' '.join([str(a) for a in box_result]) + '\n')

if __name__ == '__main__':
    for image_path in glob.glob('./IMAGES/*.jpg'):
        image_name = image_path.split('\\')[-1]
        # print(image_path, image_name)
        convert_annotation(image_name)
其作用就是将我们下载的 ANNOTATIONS 下的标注转换为 YOLO 可使用的标注格式,并存放在 train/labels 目录下,标注(标签)文件的命名和图片是一样的,后缀名为 txt。
我们随便打开一个标注文件会看到下面的内容,存放了目标的类别索引、坐标和尺寸:
0 0.7475 0.735 0.505 0.27
0 0.52 0.3175 0.96 0.47500000000000003
在转换脚本里,可以看到下面这段代码,这就是目标的所有类别,上面标注内的类别索引就是对应 crazing。
classes = ['crazing', 'inclusion', 'patches', 'pitted_surface', 'rolled-in_scale', 'scratches']后面跟上的4个数值,分别为目标的 x 中心点坐标、y 中心点坐标、宽度、高度,只不过数值是目标相对于图片分辨率大小归一化处理后的,左上角为(0,0),右下角为(1,1)。有多少个目标,标注就有多少行。
最后在 train 同级目录下新建配置文件 data.ymal,配置文件中的相对路径是相对于 YOLO 项目根目录的,我们将 NEU-DET 和 yolov5-5.0 放在同一级就需要这样写:
train: ../NEU-DET/train/images
val: ../NEU-DET/train/images

nc: 6
names: ['crazing', 'inclusion', 'patches', 'pitted_surface', 'rolled-in_scale', 'scratches']
训练数据
修改 train.py 脚本参数,可直接修改入口处参数的默认值:
parser.add_argument('--weights', type=str, default='yolov5s.pt', help='initial weights path')
parser.add_argument('--data', type=str, default='../NEU-DET/data.yaml', help='data.yaml path')
parser.add_argument('--batch-size', type=int, default=2, help='total batch size for all GPUs')
也可以在执行 train.py 脚本时设置参数:
python train.py --weights yolov5s.pt --data ../NEU-DET/data.yaml训练时间会受电脑配置、数据数量、训练权重、训练次数等因素影响,最终运行效果:
训练完成后,我们可以在 runs/train/exp数字/weights 目录下找到 best.pt,这就是我们最终用于目标检测的模型文件,我们训练数据集也就是为了得到这个文件:
更多资料
yolov5中文版:https://github.com/wudashuo/yolov5


