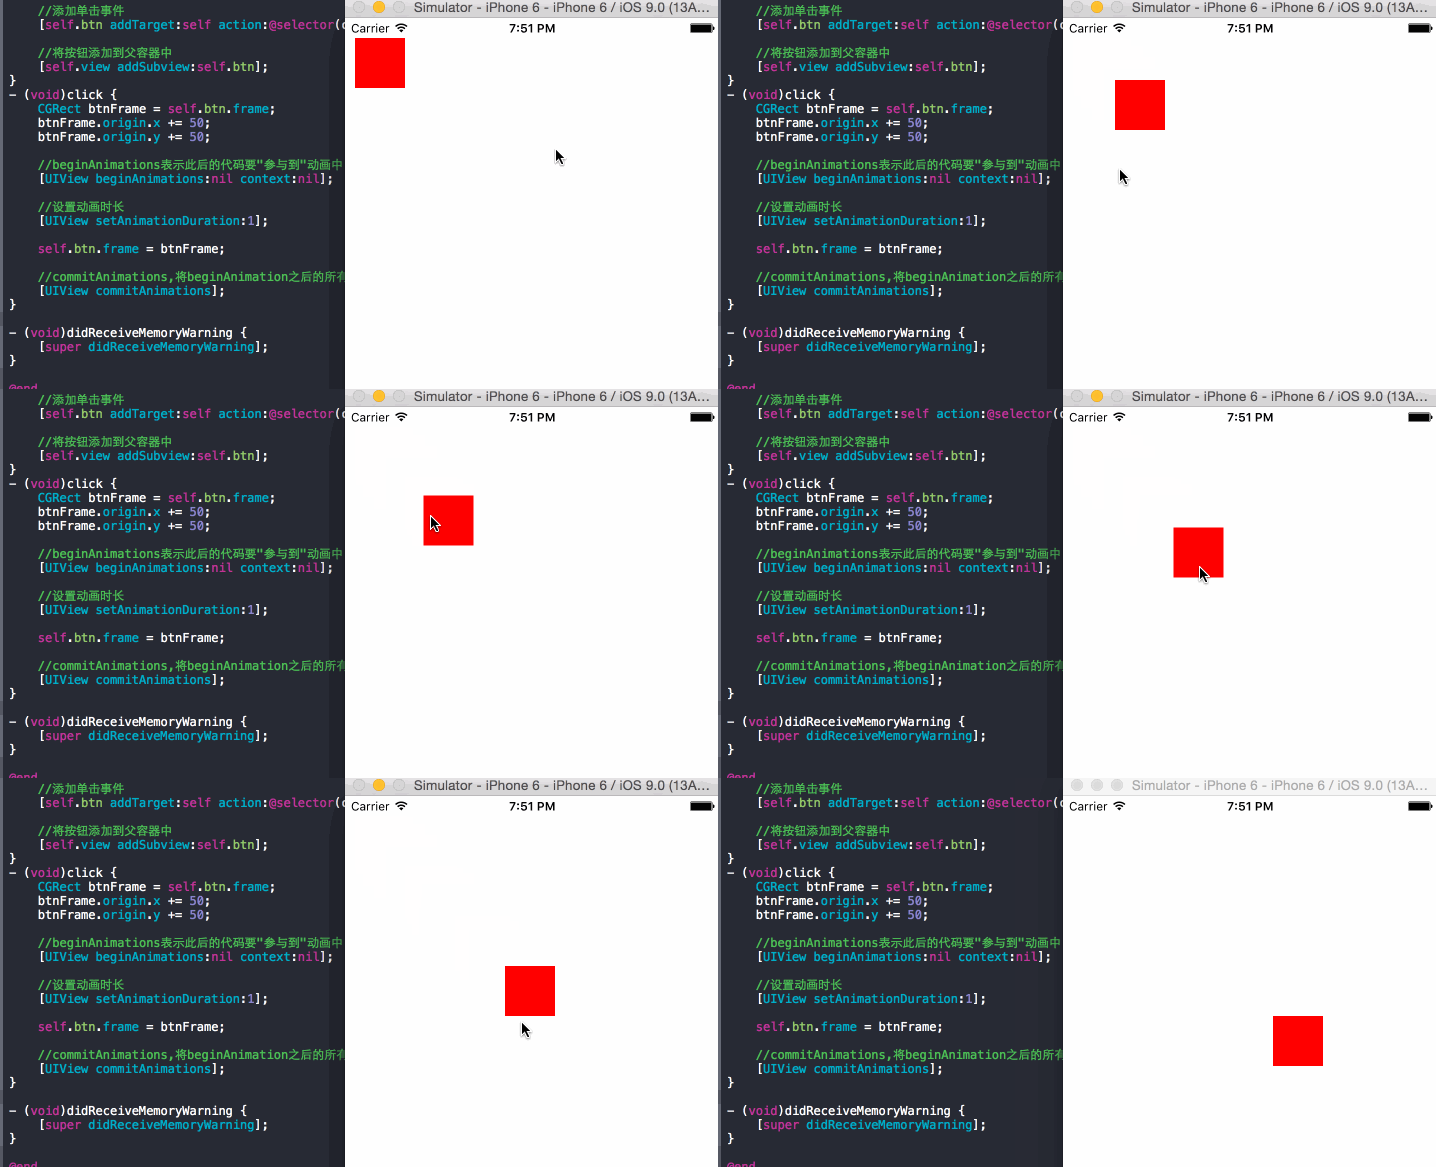
一、首尾式动画
如果只是修改控件的属性,使用首尾式动画还是比较方便的,但是如果需要在动画完成后做后续处理,就不是那么方便了。
#import "ViewController.h"

@interface ViewController ()
@property (strong, nonatomic) UIButton *btn;
@end

@implementation ViewController

- (void)viewDidLoad {
    [super viewDidLoad];

    //创建一个宽高50、坐标10,10的按钮
    self.btn = [[UIButton alloc] initWithFrame:CGRectMake(10, 20, 50, 50)];

    //按钮背景颜色为红色
    [self.btn setBackgroundColor:[UIColor redColor]];

    //添加单击事件
    [self.btn addTarget:self action:@selector(click) forControlEvents:UIControlEventTouchUpInside];

    //将按钮添加到父容器中
    [self.view addSubview:self.btn];
}

//单击事件
- (void)click {
    CGRect btnFrame = self.btn.frame;
    btnFrame.origin.x += 50;
    btnFrame.origin.y += 50;

    //beginAnimations表示此后的代码要"参与到"动画中
    [UIView beginAnimations:nil context:nil];

    //设置动画时长
    [UIView setAnimationDuration:1];

    //修改按钮的frame
    self.btn.frame = btnFrame;

    //commitAnimations,将beginAnimation之后的所有动画提交并生成动画
    [UIView commitAnimations];
}

- (void)didReceiveMemoryWarning {
    [super didReceiveMemoryWarning];
}

@end
二、block代码块动画
在实际的开发中更常用的时block代码块来处理动画操作,块动画相对来说比较灵活,尤为重要的是能够将动画相关的代码编写在一起,便于代码的阅读和理解。
#import "ViewController.h"

@interface ViewController ()
@property (strong, nonatomic) UIButton *btn;
@end

@implementation ViewController

- (void)viewDidLoad {
    [super viewDidLoad];

    //创建一个宽高50、坐标10,10的按钮
    self.btn = [[UIButton alloc] initWithFrame:CGRectMake(10, 20, 50, 50)];

    //按钮背景颜色为红色
    [self.btn setBackgroundColor:[UIColor redColor]];

    //添加单击事件
    [self.btn addTarget:self action:@selector(click) forControlEvents:UIControlEventTouchUpInside];

    //将按钮添加到父容器中
    [self.view addSubview:self.btn];
}
- (void)click {
    CGRect btnFrame = self.btn.frame;
    btnFrame.origin.x += 50;
    btnFrame.origin.y += 50;

    //代码块内的代码是执行动画的代码
    [UIView animateWithDuration:1 animations:^{
        //修改按钮的frame
        self.btn.frame = btnFrame;
    }];
}

- (void)didReceiveMemoryWarning {
    [super didReceiveMemoryWarning];
}

@end
三、序列帧动画
如果给UIImageView的animationImages赋值一个元素全部为UIImage的数组,并进行相关属性设置就能开启帧动画。所谓帧动画就像老电影院里播放电影的胶片,顺序播放每个胶片让画面看起来就像动画一样,其实就是一大堆图片轮播效果。
为UIImageView对象的animationImages属性赋值一个图片资源数组
@property (nullable, nonatomic, copy) NSArray<UIImage *> *animationImages;
设置动画执行时间
@property (nonatomic) NSTimeInterval animationDuration;
设置动画循环次数
@property (nonatomic) NSInteger animationRepeatCount;
动画的开启、停止和判断是否正在执行
- (void)startAnimating;
- (void)stopAnimating;
- (BOOL)isAnimating;
新建一个Single View Application项目,导入准备好的图片素材,不需要拖拽任何控件。
实现代码:
#import "ViewController.h"

@interface ViewController ()
@property (strong, nonatomic) UIImageView *img;//图

@end

@implementation ViewController

- (void)viewDidLoad {
    [super viewDidLoad];

    self.img = [[UIImageView alloc] initWithFrame:CGRectMake(0, 0, 375, 667)];
    //添加图片
    self.img.image = [UIImage imageWithContentsOfFile:[[NSBundle mainBundle] pathForResource:@"tyler_001.jpg" ofType:nil]];
    //显示图片
    [self.view addSubview:self.img];

    //显示按钮
    [self addEatBtnView];

}

- (void)didReceiveMemoryWarning {
    [super didReceiveMemoryWarning];
    // Dispose of any resources that can be recreated.
}

//吃鸟的按钮
- (void)addEatBtnView {
    UIButton *eatBtn = [[UIButton alloc] initWithFrame:CGRectMake(30, 550, 45, 45)];
    //设置按钮背景图
    [eatBtn setBackgroundImage:[UIImage imageNamed:@"eat"] forState:UIControlStateNormal];
    //添加单击事件
    [eatBtn addTarget:self action:@selector(tyler) forControlEvents:UIControlEventTouchUpInside];
    //显示按钮
    [self.view addSubview:eatBtn];
}

//单击事件
- (void)tyler {
    [self startAnimationWithCount:30 andName:@"tyler"];
}

//播放帧动画
- (void)startAnimationWithCount:(int)count andName:(NSString *)name {
    //如果动画正在播放就不会继续播放下一个动画
    if (self.img.isAnimating) {
        return;
    }

    //循环创建UIImage并添加到数组中
    NSMutableArray *arrayM = [[NSMutableArray alloc] init];
    for (int i = 0; i < count - 1; i++) {
        //拼接图片名称
        NSString *imgName = [NSString stringWithFormat:@"%@_%03d.jpg",name,i+1];

        //根据图片名称查找app安装后的图片绝对路径
        NSString *path = [[NSBundle mainBundle] pathForResource:imgName ofType:nil];

        //根据图片路径加载图片数据
        UIImage *imgTemp = [UIImage imageWithContentsOfFile:path];

        //将图片名存储到数组
        [arrayM addObject:imgTemp];
    }

    //为animationImages属性赋值一个数组
    self.img.animationImages = arrayM;

    //设置帧动画播放时间
    self.img.animationDuration = arrayM.count * 0.1;

    //设置帧动画播放次数
    self.img.animationRepeatCount = 1;

    //开启动画
    [self.img startAnimating];

    //释放内存
    [self.img performSelector:@selector(setAnimationImages:) withObject:nil afterDelay:arrayM.count * 0.1];
}
@end
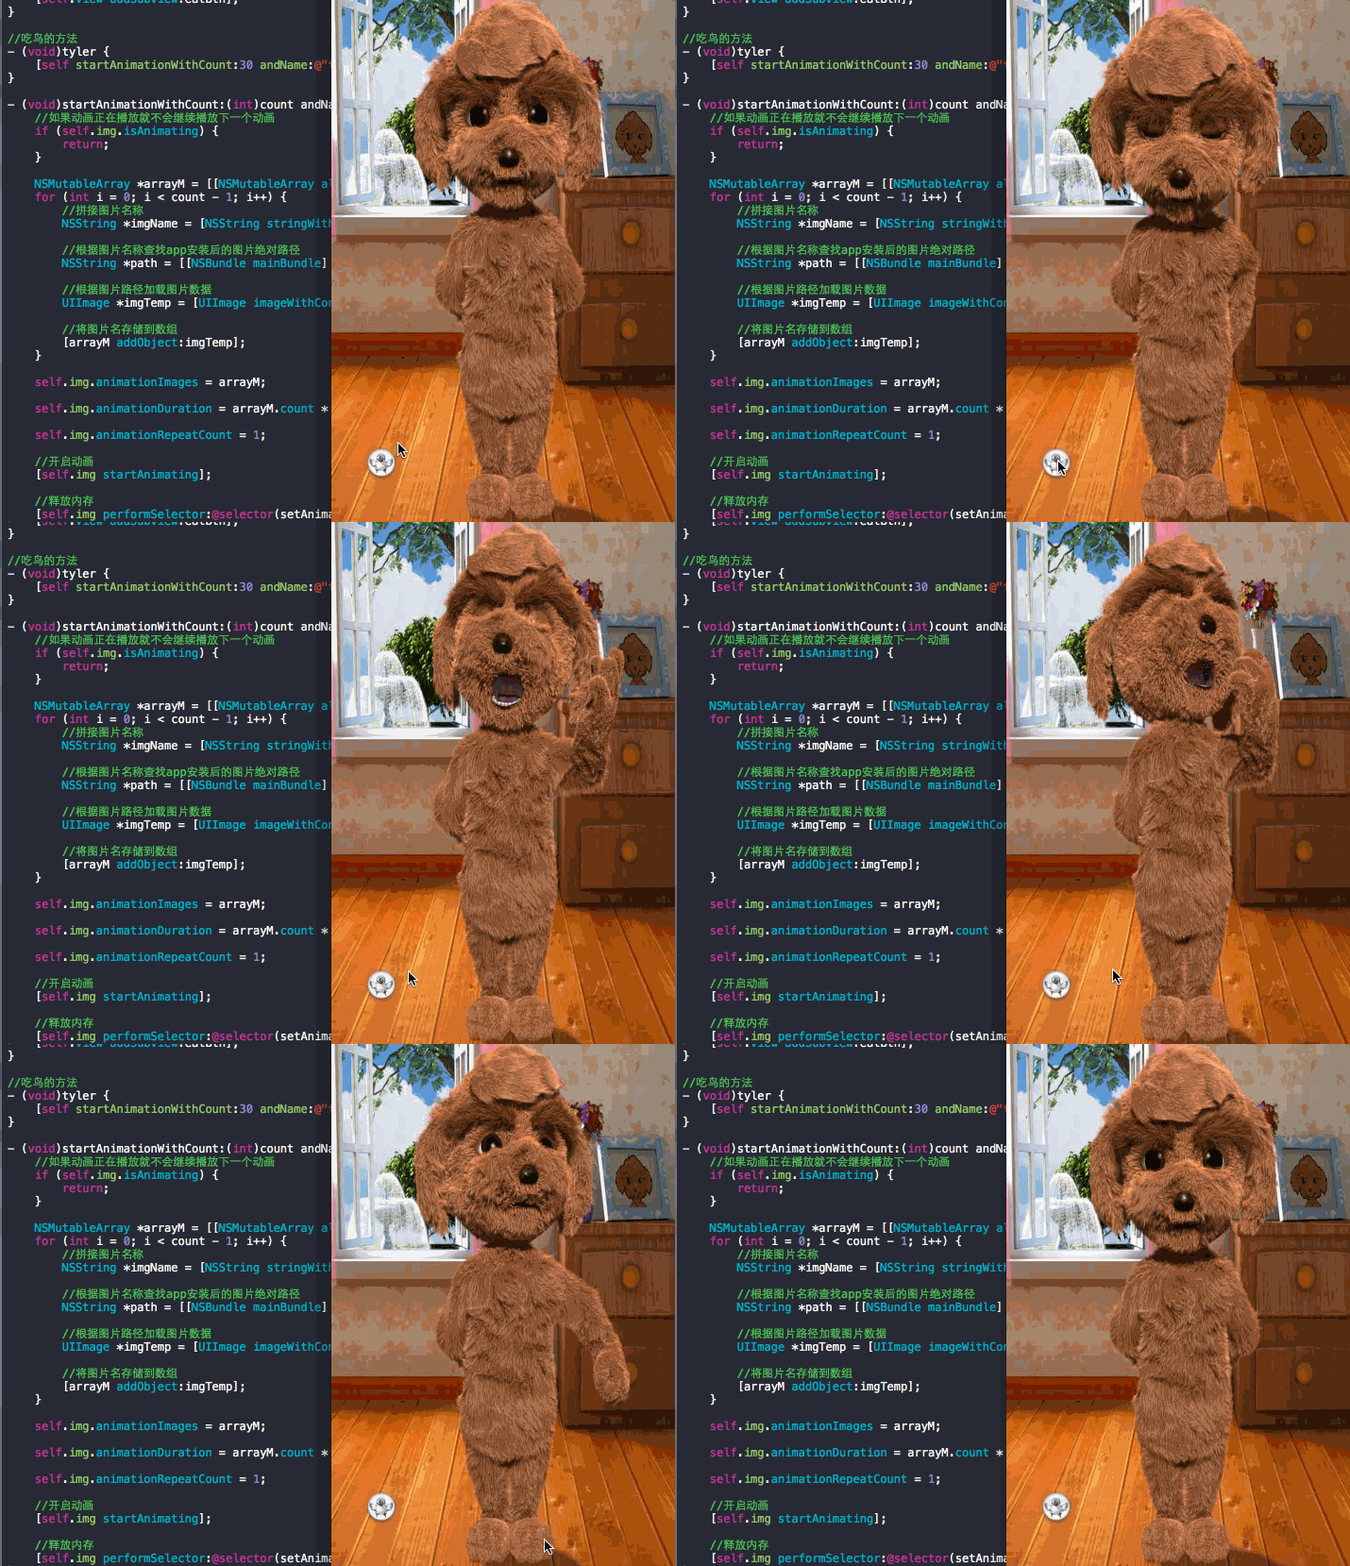
最终效果图:


